Wednesday 23 October 2013

Cider

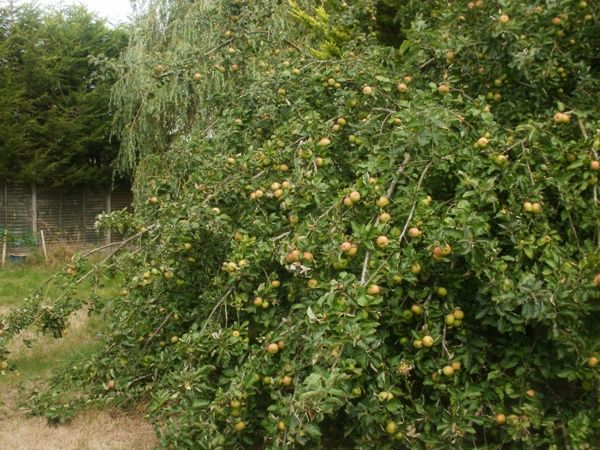
Well, obviously - we've got 2 apple trees in the back garden.

The trees have been left to grow pretty wild and will need a good cutting back and pruning once they've lost their leaves. However, in the mean time the branches are sagging with fruit.

I enlisted the help of a couple of friends to help harvest some of the apples. You know who your mates are when they'll stand on a metal ladder holding a metal pole in a thunderstorm.

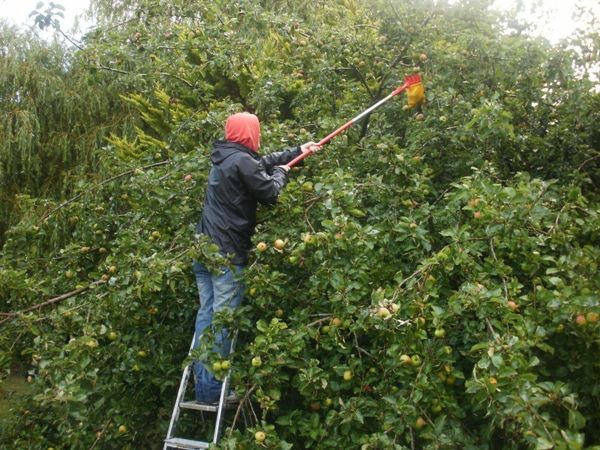
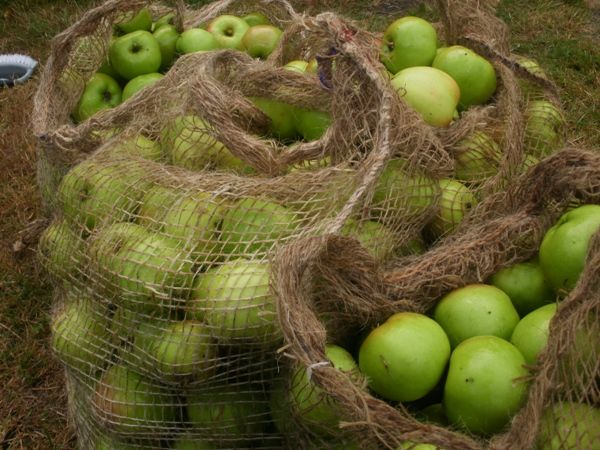
It rained on and off all day but we called it a day at 4 sacks of apples.

It seems that apples are fairly unwilling to give up their juice in comparison to some other fruits. As I'm working at relatively low batch amounts I employed the following method.

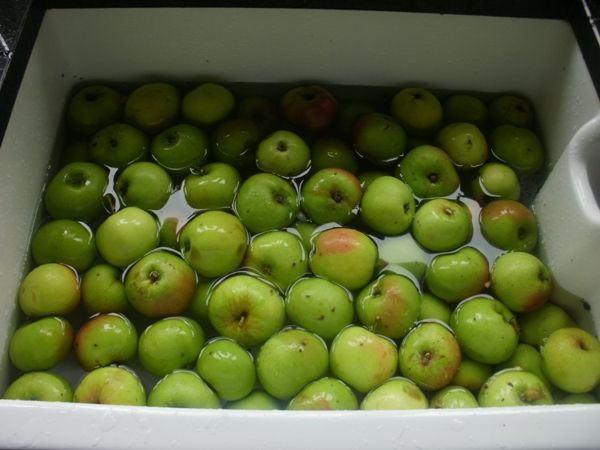
Wash the apples in a sink to remove bugs, bacteria and dirt.

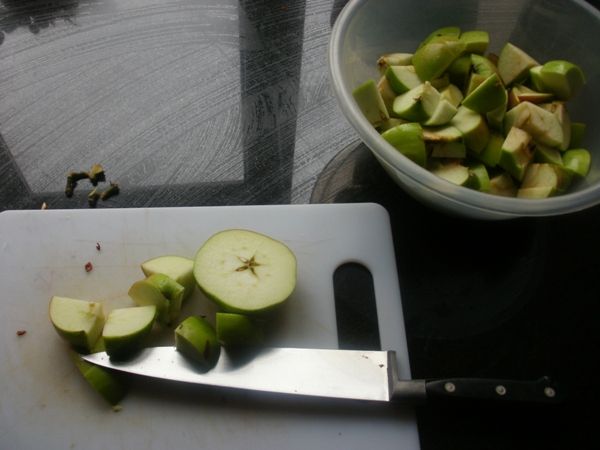
Roughly chop into sort of half inch pieces.

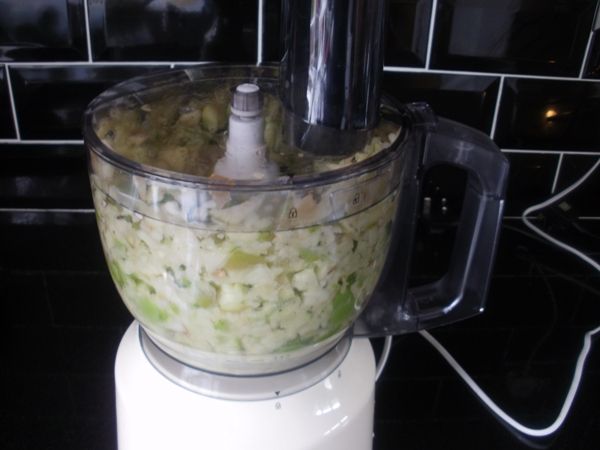
Blitz in a food processor with a plastic chopping blade.

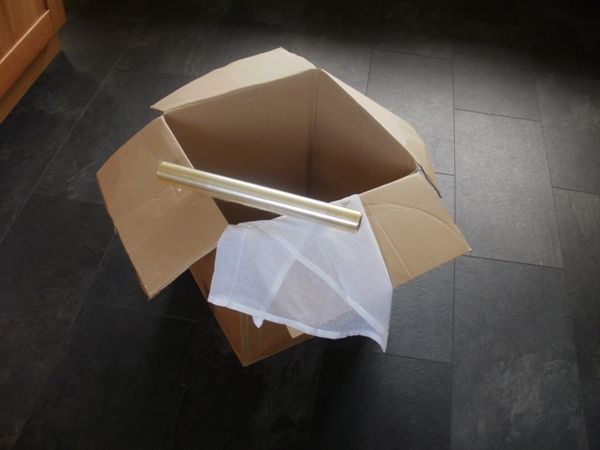
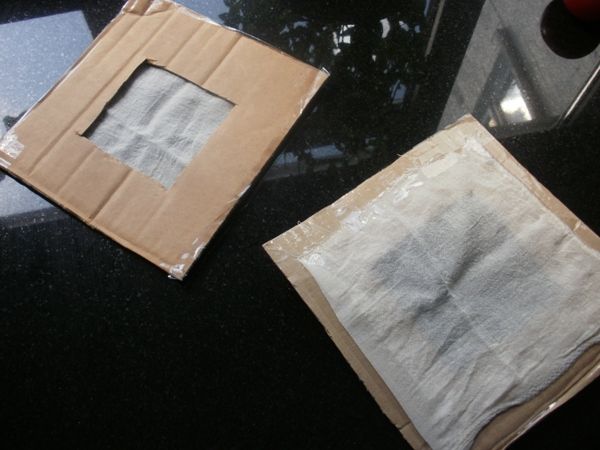
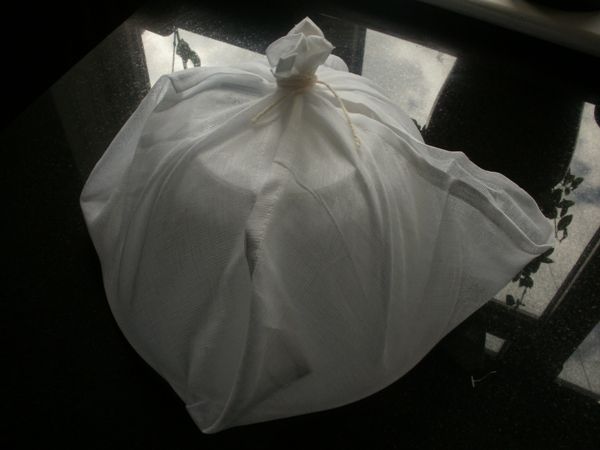
Pack into a press and strain through a muslin into a clean brewing bin.

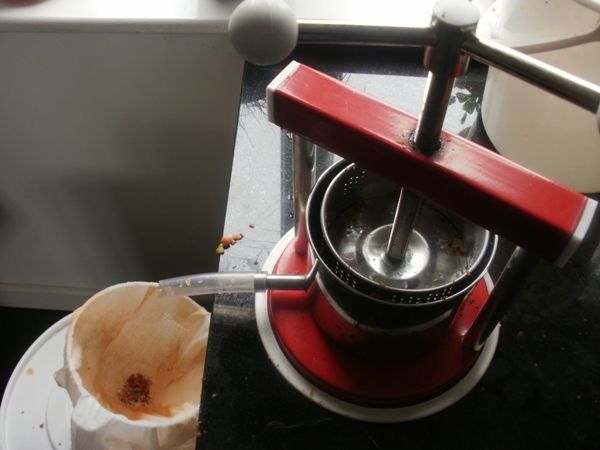
It's pretty laborious to be honest. You get into a rhythm after a bit but its long hard work. Each press from my little setup gives me about half a litre of must. I decide to call it a day at about 12 litres.

I did return 2 weeks later with a special select batch of apples. The ideal mix I wanted for my cider was 70% apples off my eating tree, backed with 30% sour apples off my larger tree. I don't know the varieties of the apples in my garden, nor care as long as they taste good.

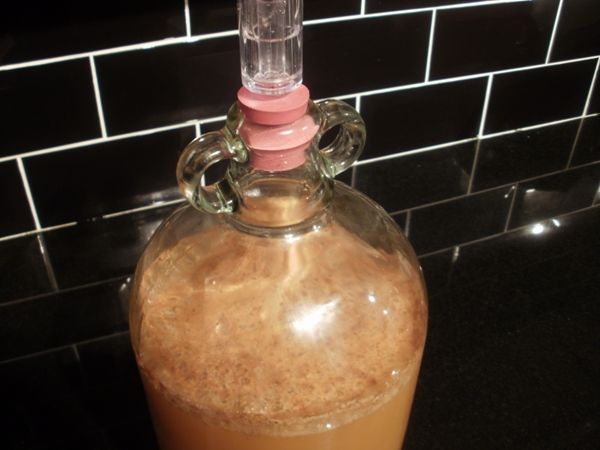
I pressed another gallon of this mix into a demijohn and a litre into a bottle that I pasteurised by leaving in my mash tun at 70something degC for 40 minutes. That juice came out tasting amazing.

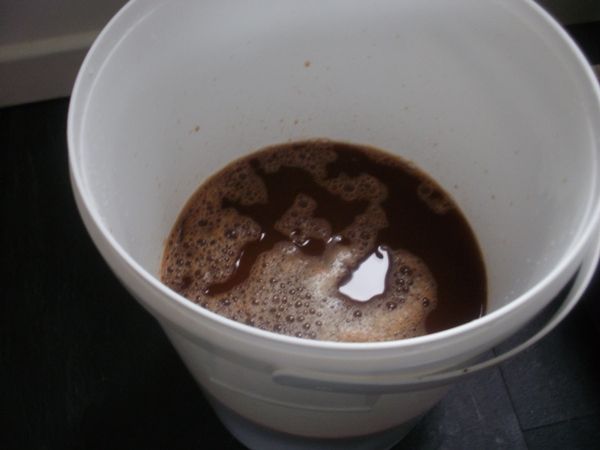
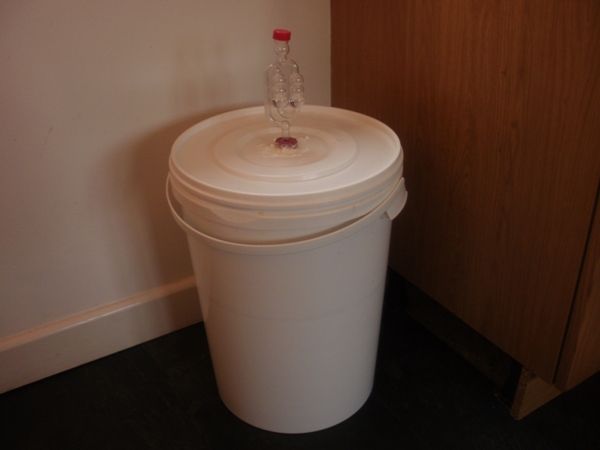
Back to my bin though, I pitched in a sachet of wine yeast and popped a lid fitted with an airlock on top. After about a week it had done the bulk of its fermenting, a hydrometer reading confirmed that, but I left it another week to settle further.

I moved right on at this stage to bottling. Strictly speaking I should have racked off into a new bin to let it settle further and de-haze a bit but a bit of cloudiness never scared me. I prepped up my bottling area by sterilising caps, bottles, a bucket and a syphoning tube.

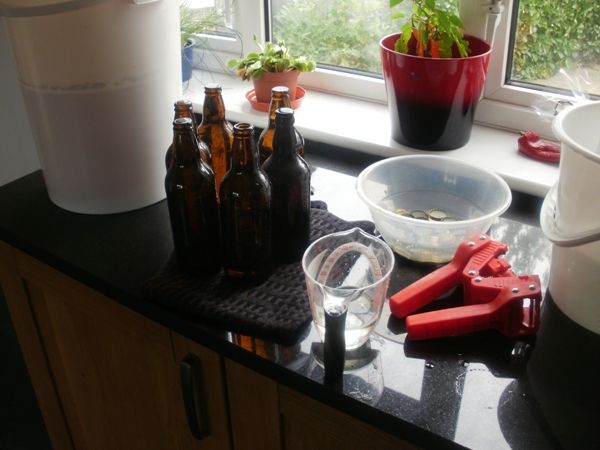
The bottles I used were collected over some time leading up to the day and involved hours of torturous beer and cider drinking. I gave all of them a thorough wash and sterilise and kept them sweet by placing a small patch of cling film over the top.

I syphoned off the cider from my big bin into the bucket through more muslin. Each bottle I primed with a teaspoon of caster sugar dissolved into a small quantity of water. Next I syphoned my cider into the bottles and immediately capped.

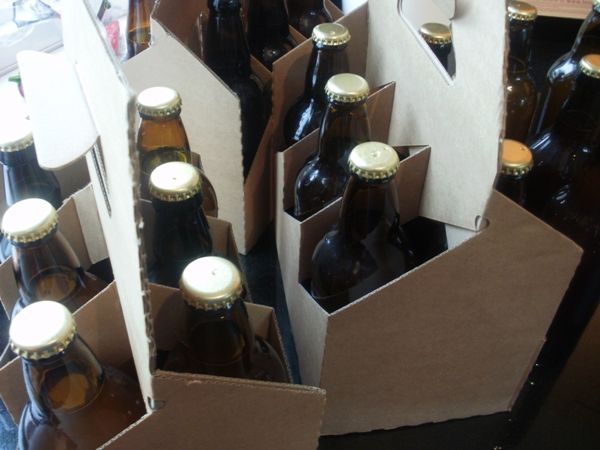
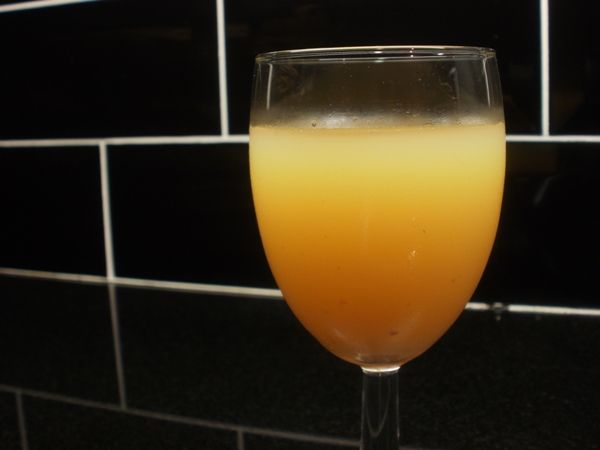
I'll leave this until Christmas before drinking most of it, but I couldn't resist trying a sneaky preview of one.

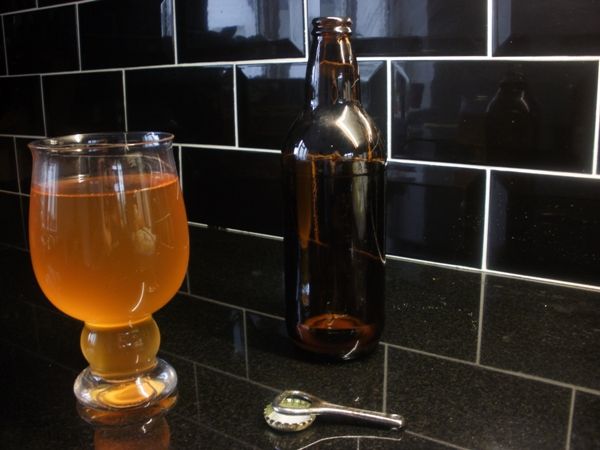
It was dry, quite sharp, with just the right amount of fizz. Which is pretty much exactly how I like my cider so I'm quite pleased all in all. It does however have a slightly woody note in the finish which I take to be an indication that I harvested too early. My lessons learned for next year are to harvest in October, and I think stick to this single variety of apple. My sweeter apples are perfect for eating and when mixed in with the sharper ones make a delicious apple juice, but when it comes to cider this single variety can't be beat.

Tuesday 16 July 2013

Tomato soup and sauce

One day I intend to become an expert tomato farmer, because the processing of tomatoes into sauces and soups is probably one of the most satisfying things I do in the kitchen. I have written about this method for making sauce for pizza, however I now share with you my favourite tomato sauce recipe, suitable for soups, pizza, pasta, or just a great base for whatever else you can think of. This will make 2 X 750ml containers of soup (enough for 2 people in each container) and 2 X 275g of sauce (enough for a large pizza or pasta dish for 2).

Ingredients
300g cherry tomatoes
700g baby plum tomatoes
2 large beef tomatoes
2kg salad tomatoes
2 sweet red peppers
Olive oil
Garlic salt
Black pepper
Mixed herbs

I buy tomatoes a week before I use them and let them ripen and develop flavour on my windowsill. It really does make a hell of a difference. A fresh supermarket bought tomato can last a couple of weeks on a sunny windowsill before its time to worry about rotting.

To start with I put all my cherry and baby plum tomatoes on to simmer in a good glug of olive oil.

The beef tomatoes I chop into chunky slices and the salad tomatoes I cut into quarters. These are spread on a baking tray and seasoned with olive oil, garlic salt, black pepper and some mixed herbs.

The sweet red peppers don't just add an amazing flavour to this, they also colour it. Tomato sauce is orange, by adding the peppers it becomes a richer bright red colour. They're absolutely essential to this sauce. I slice them open down one side and scoop out all the seeds before stuffing them with some of the cherry and plum tomatoes from the hob.

The tomatoes and peppers all go in the oven at 170degC for 40mins, just until they begin to char slightly. Meanwhile the cherry and plum tomatoes should be well softened and will pop and break up easily when stirred. Take them off the heat and blend them, before straining them through a sieve, pushing it all through with the back of a spoon until all you have left is seeds and skins in the sieve. Keep this sauce aside for now.

When your roasting tomatoes and peppers are singed and ready, take them out the oven and drain off all the juice into tall glasses, reserve this oily juice.

As the juice cools the oil will rise to the top, skim this off and keep it. This oil will have loads of tomato flavour, I like to add it to fresh pop corn.

Again blend your tomatoes and peppers before pushing the mixture through a sieve and straight into a large pot.

That's all the hard work done! Now simply add to the pot the juice in the glasses and the sauce from the cherry and plum tomatoes. Stir it all together and bring it up to a simmer. At this point you have a big batch of tomato soup.

About half the mixture I remove into pour and store bags, cool and freeze as soup.

The rest I leave to gently simmer and reduce. As it simmers a scum will collect on the surface. Swoop in with a clean spoon every now and then and remove this before giving it all a bit of a stir. As the sauce gets lower it will spit violently so a loose covering with a spit guard or a towel might be a good idea. The sauce is at the right consistency when you can draw a line to the bottom of the pot in it. At this point half fill 2 jars with sauce. Whilst you do this the sauce is still reducing and will caramelise on the base slightly, which is perfect. Make sure you don't let it burn too much and keep stirring it in. Fill up the jars with the remaining sauce and you're done.

If you're a canning pro then this is the perfect time to use those skills. Personally I just freeze them.

Tuesday 2 July 2013

Sun Dried Tomatoes

It's a nice sunny day for a change so I've decided to construct a solar dehydrator.

I'm awful at DIY so I'll be drawing on a childhood of Blue Peter and Art Attack. My materials are a cardboard box, some muslin, cling film, a large bowl and plenty of Sellotape.

I start by cutting off the wings of the box, then half way down one of the sides and cutting a slope to face into the sun.

I need ventilation to remove the moisture but I hate insects, so I've use the off cut wings, cut 2 squares, cut holes in the squares and stuck some muslin to them and sealed all round with Sellotape.

Then I cut 2 holes in the sides of the box to stick my vent covers over.

Next, I stretched muslin tightly over the bowl and secured with string.

I stuck the vent covers go on the sides and the bowl goes inside.

Now for the food bit. I used 5 tomatoes that had been ripening on my windowsill for a couple of weeks. I find that shop bought tomatoes are generally not worth eating until they've had a week at least of sun ripening. I cut them into quarters, skewered them, arranged them on top of the bowl and seasoned with a couple of pinches of light brown sugar, 2 or 3 generous pinches of garlic salt, a little pepper and fresh chopped basil.

I stuck a sheet of foil to the back of the dehydrator to reflect as much sun in as possible and dehydrator Mk.I was complete!

Finally, I stretched cling film over the top, sealed carefully all round with Sellotape and placed it outside in the middle of the garden, turning a couple of times to directly face the sun.

After about 6 hours the sun was getting low, the temperatures beginning to drop and the effectiveness of the sun was wearing off so I brought them in. But they certainly looked the business!

I tried a basil bud I had placed at the front. It was completely crispy, perfectly dried and hot with flavour. The tomatoes were still a little juicy though so I gave them another 2 and a half hours in the oven on a dehydrate setting. They didn't look massively different after that to be honest.

They did taste amazing though. I jarred them in olive oil with a little rapeseed oil.

A few things to improve on for Mk.II:
More foil
Get them outside earlier
Make a tray rather than use the bowl (I was in a rush)

Tuesday 18 June 2013

Basil Oil and Bread

I love having my mighty basil plant in the kitchen. I'm so proud of it growing up all big and strong from seed.

Any good basil gardener will tell you that to make a strong basil plant you must pinch off the tips of the stems before they flower. This results in two branches shooting off from where you pinched out, giving you a sturdy basil bush. It also leaves you with lots of little basil buds and sweet tender baby leaves.

I can't bear to throw away something so perfect so I've stuffed them into a bottle and covered them with a good olive oil to infuse in the sun on the windowsill.

It makes an intense basil flavoured oil and I had the perfect use for it when I came up with this recipe (if you want to try this but don't have any basil oil use the best olive oil you can get your hands on):

Soft brown basil bread

Ingredients
350g strong white flour
100g brown bread flour
200ml water
100ml milk
2 tsp salt
2 tsp sugar
2 tsp dried yeast
Basil oil
Basil leaves

So, as you might expect, put all the flour in a mixing bowl, put the salt and sugar at separate sides of the bowl and sprinkle the yeast in. Add the milk and water and mix together until you have a good, stodgy, but moist dough mix.

Now, take your basil oil and pour some on your work surface. Kneed and work the dough in the oil. It will become rich and coated in basil infused oil and even squidgier.

To get that silky smooth perfect dough sprinkle a handful of white flour on a clean part of the surface and work the dough a bit more in there.

Use a little more oil to grease a mixing bowl and leave your dough in the bowl to double in bulk. About an hour and a half I would guess.

Knock back the dough, tip it out and work it for a couple of minutes. Now spread it out to a roughly inch thick rectangle and lay on top some tender, fresh basil leaves. Space them evenly but be as generous as you like. I'm a massive basil fan so I go for it.

Roll up your dough and fold round the edges to make a baton. Use more oil to oil a loaf tin and drop the dough in to second prove. In about 45 mins to an hour it's ready for the oven. More oil on the top and some salt sprinkled over, then into an oven at 190degC for about 40 minutes.

The bread is rich and moist and its a favourite in our house.

Delicious on its own with butter, my 18 month old daughter loves it on its own, and if you want a real treat use some of my pizza sauce recipe on it with some mozzarella and pop it under the grill for a bit.

Friday 8 March 2013

"Southern" Style Chicken

This is a great recipe as not only is it better quality and tastier than KFC but its healthier and a fraction of the cost. KFC is an amazing rip off. I've bread crumbed stuff before on the blog but I haven't really presented it in such a practical way before and I thought it would be fun to show the whole process I do for this recipe.


When I buy a chicken I do it with the intention of getting 3 meals out of it. Considering I pay up to £4.50 for a chicken that makes it £1.50 per 2 person meal, which I consider reasonable.


So I take a good sharp knife a butcher off the legs and wings, then separate the legs into thighs and drumsticks. The crown I roast, we'll eat half on Sunday and then Monday the other half and any left over veg goes in a pie. The limbs go in the freezer until I need them.


I've got some bread that has staled nicely, i.e. it's dry and crumbles in my fingers and hasn't grown any mould. Best way to get it to do this is hang it in an airy bag. Home made rolls and burger buns generally stale very well and it's good to mix up the ones you use.


Using a hand blender I've made this into crumbs. If you have a food processor it's easier, if you have neither use your hands to crumble but it'll take longer. These also go in the freezer until I need them.


When the day comes to make my chicken I take the meat out of the freezer in the morning and give it plenty of time to fully defrost. Then I lay my breadcrumbs out on a plate and season them. The breadcrumbs will be ready to use straight from the freezer.


They need quite heavily seasoning as there's only a thin coating goes on each bit of chicken. You can be quite imaginative with your seasonings and for this batch I've added a generous amount of garlic salt and freshly ground black pepper, then generous half teaspoon amounts of ground nutmeg, ground cumin, galangal, paprika (which is excellent for adding a bit of colour too), garam masala and powdered lemongrass.


The chicken pieces need to be evenly coated in plain flour...


... then dipped in beaten egg before getting thoroughly coated in the breadcrumbs.


Place them on an oiled baking tray and have your oven pre-heated. My fan assisted oven is at 200degC.


I cooked these for 15 minutes, then turned them, brushed with a little more oil and cooked for another 15 minutes, turning once more for a final 10 minutes.


6 pieces of chicken, twice as tasty as fast food and a fraction of the cost.